 Call us: (732) 520-3386
 Email us: info@redsurgetechnology.com




You've probably heard someone say "rebase your branch before merging" and nodded along, not entirely sure what that means. Or maybe you've tried git rebase once, saw a scary message about conflicts, and immediately git rebase --abort-ed your way back to safety. That's okay. Rebase has a reputation for being intimidating, but once you actually see what's happening under the hood, it becomes one of the most useful tools in your Git belt.
Think of rebase as a way to rewrite the history of your current branch so it looks like you started from a different point. Instead of merging two branches together with a merge commit, you take your commits, lift them up, and replay them on top of another branch's latest commit. The result is a clean, linear history that reads like a story.
In this tutorial, we'll go beyond the basics. I'll show you what happens during a rebase, how to handle conflicts without panicking, how to use interactive mode to squash and reorder commits, and—most importantly—when you should never rebase. If you've read our comparison of git rebase vs merge, you already know the philosophical differences. This post is the hands-on follow-up.
What actually happens during a rebase
Let's start with a concrete example. Imagine your main branch looks like this:
A --- B --- C --- D  (main)
       \
        E --- F     (feature)
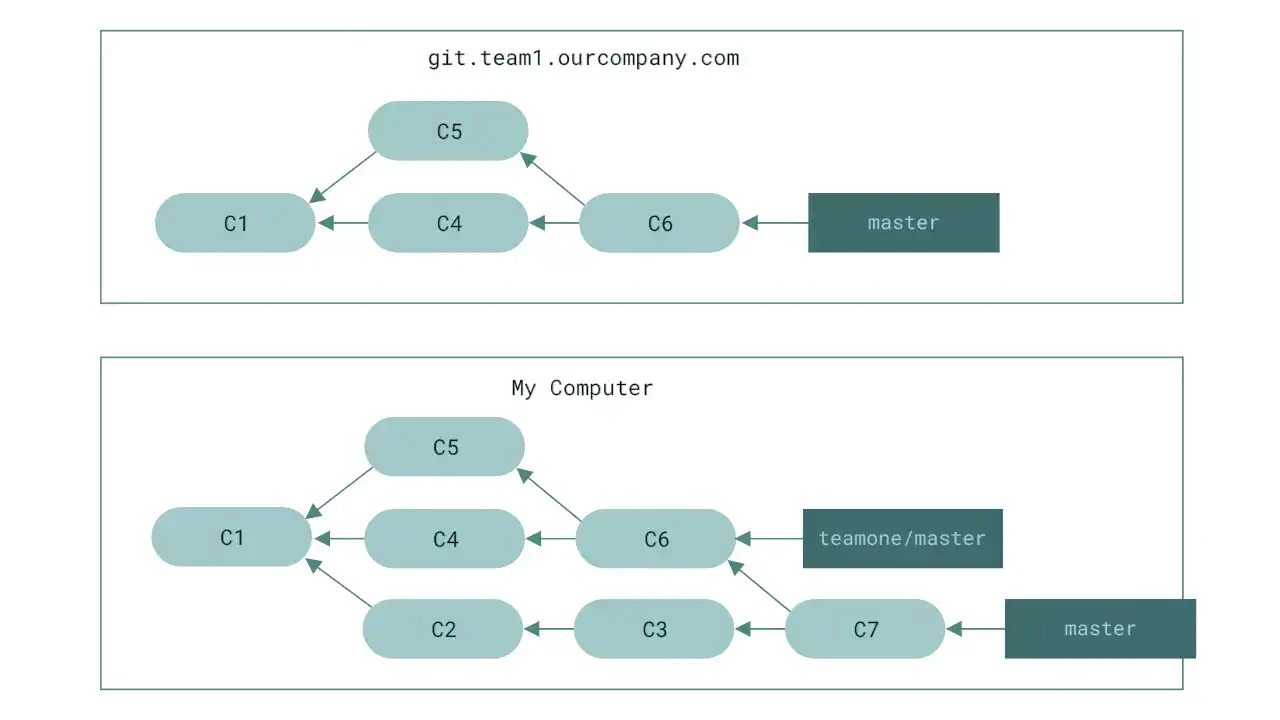
You branched off at commit B and made two commits, E and F. Meanwhile, main moved ahead to C and D. If you merge now, Git creates a merge commit that ties both histories together. But if you rebase, Git takes E and F, and replays them one by one on top of D:
A --- B --- C --- D --- E' --- F' (feature)
Notice the ' marks. The new commits E' and F' have the same changes as the original E and F, but they have new commit hashes because their parent is now D instead of B. The old E and F commits are effectively abandoned and eventually garbage collected.
The command to do this is simple:
git checkout feature
git rebase main
Git will find the common ancestor (B), save your E and F changes, reset your branch to main, and then reapply each commit. If there are no conflicts, it's over in seconds. If there are conflicts, Git pauses at the conflicting commit and asks you to resolve them before continuing.
A quick aside on safe rebasing
Before we go further, remember the golden rule: never rebase a branch that other people are working on. If you've pushed feature to a remote and a teammate has pulled it and made commits on top, rebasing feature will rewrite its history. When your teammate tries to pull, they'll get a mess of diverged histories, and someone will spend a day untangling it. That's how rebase gets its bad rap—not from the tool, but from misuse.
If you're the only person on your branch, rebase all you want. Once you've pushed your clean, rebased branch and opened a pull request, avoid rebasing again unless everyone agrees to coordinate.
Handling conflicts during a rebase
Conflicts happen. The important thing is not to panic. When a rebase conflict occurs, Git stops and tells you which file has the problem. Here's the typical flow:
git rebase main
# CONFLICT (content): Merge conflict in src/App.tsx
Open the file. Git marks the conflicting sections with <<<<<<<, =======, and >>>>>>>. The top part is your change (from the commit being replayed), and the bottom part is the change from main. Decide how to combine them, remove the markers, and save the file.
Once you've resolved all conflicts in that file, stage the changes:
git add src/App.tsx
Then continue the rebase:
git rebase --continue
Git will open your editor and ask you to confirm the commit message (usually you can just save and close). Then it moves on to the next commit. If you realize you're in over your head, you can always bail out:
git rebase --abort
This returns your branch to exactly where it was before the rebase started. Your original commits are safe. It's a great safety net.
Interactive rebase: the real superpower
So far we've used rebase to keep up with main. But the real magic is interactive rebase, which lets you edit your commit history before merging. You can squash, reword, reorder, or even drop commits entirely.
The command is:
git rebase -i main
This opens a text editor with a list of your commits (oldest at top, newest at bottom) and a set of commands. Here's an example:
pick a1b2c3d Add user authentication
pick b2c3d4e Fix typo in auth module
pick c3d4e5f WIP: start payment integration
pick d4e5f6g Complete payment integration
pick e5f6g7h Remove debug logging
Each line shows a command and a commit hash and message. You can change the command to alter what happens. The most common commands are:
pick– use the commit as-is (default).squash– merge this commit into the previous one, combining messages.reword– change the commit message.drop– remove the commit entirely.reorder– just move the lines around.
For example, if I want to squash the typo fix into the authentication commit, I'd change the second line to squash:
pick a1b2c3d Add user authentication
squash b2c3d4e Fix typo in auth module
pick c3d4e5f WIP: start payment integration
pick d4e5f6g Complete payment integration
pick e5f6g7h Remove debug logging
When you save and close, Git automatically combines the two commits and prompts you for a new commit message. You'd probably write something like "Add user authentication". The result is a history where each commit tells a clear, self-contained story—no more "WIP" or "typo fix" noise.
You can also reorder commits by moving lines, or drop the "Remove debug logging" commit entirely if it wasn't supposed to be there.
A real story about cleaning up a messy branch
I once worked on a feature branch that had accumulated 27 commits over two weeks. Some were genuine progress. Many were "WIP" and "try different approach" and "fix tests"—the kind of commits you make as checkpoints but never want to see in the permanent history. The branch also had merge commits from pulling main a few times, which added more noise.
Before opening a pull request, I ran an interactive rebase against main. I squashed the WIP commits into logical units, reworded several messages, and dropped a commit that reverted a previous commit (they canceled out). The final branch had 9 clean commits: one per feature slice, with descriptive messages. The code reviewer commented on how easy it was to understand the changes.
That's the beauty of interactive rebase: you get to shape your history after the fact. You don't need to write perfect commits from the start.
Rebasing onto another branch
Sometimes you need to rebase not just onto main, but onto a specific commit or another branch. For example, you branched off main, but now you realize your work actually depends on changes in develop. You can rebase onto develop:
git rebase --onto develop main feature
This is a three-argument version that means: take the commits from feature that are not in main, and replay them on top of develop. It's a bit more advanced, but incredibly useful when you've branched off the wrong starting point.
Most of the time, git rebase main is all you need. The --onto flag is there for when your branch's base has shifted.
Common rebase mistakes and how to recover
Even experienced developers mess up a rebase occasionally. Here are a few recoveries:
You accidentally dropped a commit during interactive rebase. Don't panic. The commit isn't gone—Git keeps it in the reflog for at least 30 days. Find the commit hash with git reflog and cherry-pick it back:
git reflog
# find the hash of the dropped commit
git cherry-pick <commit-hash>
You realize mid-rebase that you made a mistake. Abort the rebase and start over:
git rebase --abort
You completed a rebase but changed your mind. Use git reflog to find the state of your branch before the rebase, then reset back to it:
git reflog
# find the hash of your branch before the rebase (e.g., HEAD@{2})
git reset --hard HEAD@{2}
Remember, git reflog is your friend. It records every move you make, so you can almost always get back to a previous state.
When rebase isn't the right tool
Rebase is powerful, but it's not always appropriate. Here are a few cases where you should avoid it:
- You're rebasing a shared branch. We already covered this—don't do it.
- You want to preserve the exact history of what happened, including mistakes. Sometimes the messy truth is valuable, especially in regulated environments or when debugging.
- You're merging a feature into
mainand want a merge commit to group all the feature's commits together. In that case, a regular merge is fine.
If you're unsure, remember that git merge is safer and non-destructive. Rebase is for when you want to clean things up before merging.
Wrapping up
Git rebase is a skill that pays dividends. It keeps your commit history clean, makes code reviews easier, and helps you stay up to date with the main branch without creating merge commits. The key is to use it deliberately: rebase your own branches, clean up your commits with interactive mode, and always have an exit strategy with --abort and reflog.
The next time you're about to open a pull request with 20 messy commits, take a moment to run git rebase -i and turn that mess into a coherent story. Your future self—and your reviewers—will thank you.
Want to level up your Git workflow and make collaboration smoother? Red Surge Technology helps teams adopt practical version control practices that scale. Get in touch to discuss how we can help.